SEARCH
Members Login
Categories
FEATURED PRODUCTS
How to Replace Bed Legs When the Thread Size Doesn’t Match

How to Replace Bed Legs When the Thread Size Doesn’t Match
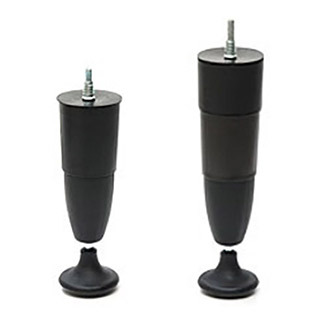
Replacing bed legs sounds simple until you discover the new legs don’t fit the existing threaded hole, maybe the original hole is too large, or the thread type is completely different (for example, the old leg uses an M10 thread and the new leg uses a 5/16" BSW thread).
This is a common conundrum when replacing legs on imported beds and different brands. The good news: you don’t need special fittings, custom legs, or a whole new bed frame. With a few basic tools and a smart workaround, you can securely and safely install new bed legs.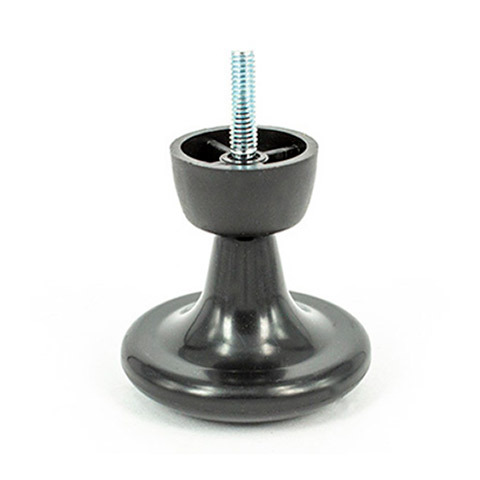


The Simple Fix: Create a New Threaded Mount
Rather than trying to adapt incompatible threads, the fastest and most reliable solution is to create a brand-new threaded fixing point next to the old one. This ensures strength, stability, and long-term durability.
How it works:
- Drill a new hole 30mm away from the old one
- Install an insert nut that matches the new thread
- Screw in the new leg or bolt
Why it works so well:
- Creates a strong metal thread in wood
- Handles heavy loads
- Works for metric-to-imperial conversions
What You’ll Need
- A drill
- A 10.5mm drill bit
- An insert nut that matches the thread of your new bed leg
- A ruler or measuring tape
- The new bed leg
Step-by-Step Instructions
Step 1: Drill a New Hole
Fit a 10.5mm drill bit to your drill to create a new hole approximately 30mm away from the existing hole. This spacing keeps the wood strong and avoids weakening the original fixing point.
Tip: Drill straight and slow to keep the hole clean and properly aligned.
Step 2: Install the Insert Nut
Carefully insert the new insert nut into the freshly drilled hole. Make sure it sits flush and is fully secured in the wood. This insert nut will act as the new threaded anchor for your bed leg.
Step 3: Attach the New Bed Leg
Finally, screw the new bed leg into the new insert nut. Tighten it firmly by hand (or gently with a tool if needed) to ensure a sturdy, seamless replacement.
Why This Method Works
- ✔ No need to find rare or discontinued fittings
- ✔ Stronger than thread adapters
- ✔ Works with metric-to-imperial thread changes
- ✔ Clean, tidy and professional-looking result
Avoid Quick Fixes That Don’t Last
�� Thread tape, glue, or forcing mismatched threads
�� Mixing metric and imperial threads by “almost fitting”
These can feel snug at first, but usually fail under weight and movement.
Now you know how to create a new fixing point for a bed leg; mismatched threads don’t have to stop your furniture upgrade dreams. By adding a new insert nut just a short distance from the original hole, you can confidently install almost any bed leg, regardless of thread size or standard.
If you’re upgrading your bed’s height, style, or stability, this method offers flexibility without compromising structural integrity.


Explore our Range of Furniture & Bed Leg Glides
Posted: Thursday 5 February 2026